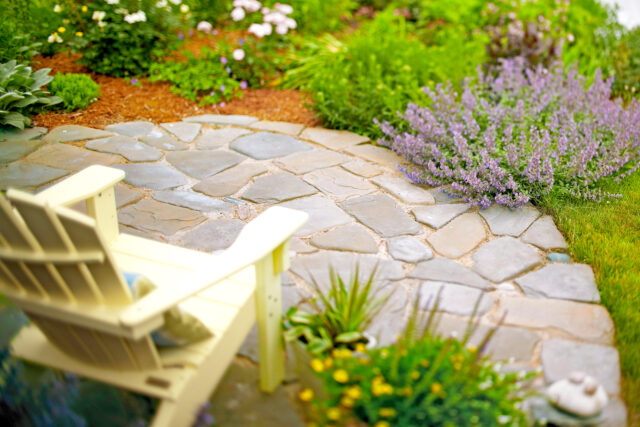
Building your own patio is a great DIY project for any homeowner who has exhausted all the basic projects that they want to do and is looking for something a little more advanced. Building a patio is easier than many people realise, and the results make it more than worth it. Here’s what you need to do to build your own garden patio.
Set Up and Square Guide Strings
The first thing to do is to set up your guide strings. Your guide strings are the string that is tied between stakes to mark the outline of where your patio will be. Begin with two stakes at each corner of the area. You want the stakes to be roughly 30 centimetres from the edge of the patio area. By tying string between the pairs of opposing stakes, you can create an accurate layout and ensure that you are working with straight lines.
If you want your patio to be perfectly square, then make sure that you take the time to check that your guide stakes are in alignment. You can check that you have a perfect square by measuring the distance from the stakes to where the strings intersect. This measurement should be the same from every corner.
Excavate the Area
Before you can lay down your foundations and start putting down the patio itself, you need to first excavate the area. This involves removing all of the vegetation and other obstacles that might be in the way and then removing soil down to a depth of about 8 inches. Make sure that you excavate around 6 inches beyond the sides of your patio. This is necessary so the concrete has room to set properly. Once you have finished, flatten the area so that it is nice and level for the next part of the process.
Install the Gravel Base
You want to add a layer of compactible gravel a couple of inches thick to the area you have just excavated. Once that’s done, use a rake to smooth it down and compact it. You can use a plate compactor to do this more quickly and easily.
Once you have smoothed and compacted the gravel, add another couple of inches of gravel on top and rake it but do not compact it.
Build the Concrete Form
Use 2 x 4 lumber and 3 ½ inch screws to construct the concrete form. The interior dimensions of the form should be the same as the dimensions of the concrete slabs you are using. Once you have constructed the form, you need to set it into the gravel base and confirm that all the measurements are correct.
With the form laid, you then want to use wooden stakes around the perimeter of the form, spacing them roughly 2 feet apart from one another. You want these stakes to extend above the ground by around 3.5 inches. Then, lift up the form so that the top of it is about 4 inches above the ground. You can use deck screws to secure the form to the stakes and keep it in place.
Pour the Concrete
The easiest way of working out how much concrete to use is by using a concrete mix calculator. The linked concrete calculator is useful for anyone who needs a concrete calculator in the UK.
Once you have the correct amount of concrete mix, put it through a concrete mixer and then pour it into the form. Use a shovel to spread the concrete around so that it fills the form evenly. Continue the process until the form is full.
Finishing the Job
Once you have poured your concrete, you will then want to screed it. The easiest way of doing this is with a 2×4 board. All you need to do is place the board on the form’s sides and then use a sawing motion to move it whilst pulling it along the concrete. If there are any spots in the concrete that are uneven then you can also use a 2 x 4 to smooth them over. Similarly, a shovel can be used to remove any excess concrete if some areas end up raised higher than they should be.
After screeding the concrete, you then want to give it time to cure. You will know when this process is complete because moisture will rise to the surface and make your concrete appear wet. Wait for the bleed water to go away again and you are ready to finish the concrete. You can use a specialised tool for doing this, or you can just use a broom.
If you have never attempted an advanced DIY project before, this can be a difficult undertaking. However, if you have already successfully completed DIY projects before then this is a great way of challenging yourself.


